

Table of Contents
- Why Driveways Get Damaged During Cleaning
- Step 1: Sweep Away Loose Debris and Check the Surface
- Step 2: Choose the Right Cleaning Solution for Your Surface
- Step 3: Clean by Hand or Use a Pressure Washer Safely
- Step 4: Treat Oil and Grease Stains Before They Set
- Step 5: Protect Block Paving Joints and Edges
- Step 6: Rinse, Finish and Protect Runoff
- Step 7: Keep the Driveway Looking Good Between Cleans
- Booking a Driveway Clean Without the Risk
- Frequently Asked Questions
Last Updated: November 17, 2026
Most people try to get a clean driveway with a high-pressure jet and end up with pitted block paving, washed-out jointing sand, or faint zebra stripes across the concrete. You can clean a driveway thoroughly without damaging the surface. The trick is matching your method to the material, going gently first, and never letting the water do the work the cleaner should. This guide walks through seven steps, from sweeping through to protecting runoff, so you can get a clean, even finish that lasts.
Why Driveways Get Damaged During Cleaning
Damage almost always comes from one of three things: too much pressure, the wrong chemical, or the wrong distance. Block paving can lose its surface texture under a hard jet, and cheap or old concrete can be etched by strong acids. Jointing sand gets flushed out when the spray is aimed straight down the gaps.
Watch out: the most common mistake is starting at maximum pressure to save time. Pressure you cannot undo costs far more than the extra minutes spent testing a gentler setting first.
Step 1: Sweep Away Loose Debris and Check the Surface
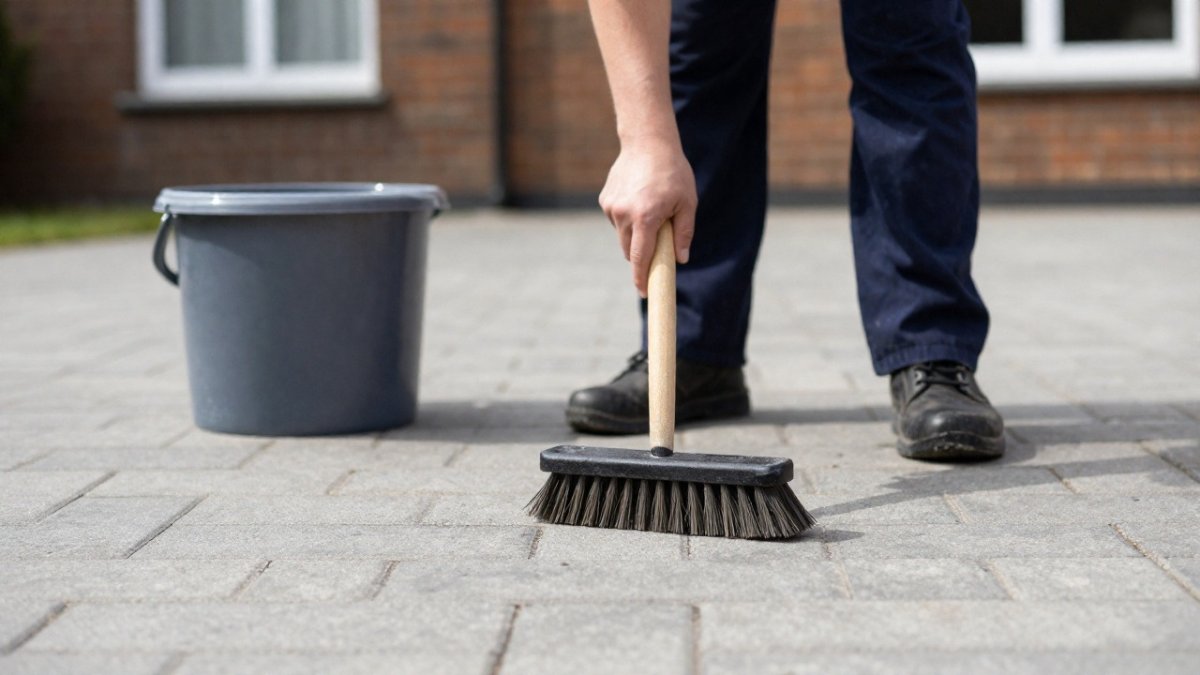
Start with a stiff broom and sweep the whole driveway. Remove leaves, grit, and loose weeds before any water touches the surface, because wet debris turns into a grey paste that smears across the paving. Look closely at the surface as you go. Note cracks, loose blocks, crumbling edges, and any patches where the jointing sand has already washed out. Fix these first, or the cleaning will make them worse.
Step 2: Choose the Right Cleaning Solution for Your Surface
Not every cleaner suits every driveway, and the wrong product can do more harm than a pressure washer. The safest default for most surfaces is a non-acidic, biodegradable detergent, because it lifts dirt, algae and light moss without etching concrete or dissolving the sand between block paving. Stronger degreasers should be reserved for specific stains, and only after a small test patch.
What most guides skip is that the right cleaner depends on the material itself. The table below matches common driveway surfaces to safe cleaning agents and the risks each one carries.
| Surface | Safe Cleaning Agents | Agents to Avoid | Key Risk |
|---|---|---|---|
| Block paving | Non-acidic detergent, diluted washing-up liquid, dedicated block paving cleaner | Strong acids, solvent-based degreasers, bleach-heavy products | Dissolving jointing sand, staining blocks, discolouring edges |
| Concrete | Non-acidic detergent, mild degreaser for oil spots | Muriatic acid (unless professionally applied), strong solvents | Acid etching, surface pitting, whitening from over-application |
| Tarmac | Non-acidic detergent, gentle car-shampoo solution | Solvents, degreasers, anything oil-based | Softening the binder, loosening aggregate, creating bald patches |
| Resin-bound or resin-bonded | Non-acidic detergent, resin-safe cleaner | Solvents, aggressive degreasers, hot water above 40°C | Softening the resin, loosening stones, clouding the finish |
| Patterned or decorative concrete | Non-acidic detergent, pH-neutral cleaner | Acid-based cleaners, wire-brush scrubbing | Etching the pattern, fading colour, scratching the surface |
Pre-wet the surface with clean water before applying any solution. This stops the cleaner drying into the paving and reduces streaking. Work in small sections so the product does not sit for longer than the label advises, and rinse thoroughly afterwards.
Watch out: never mix cleaning products, particularly anything containing bleach with an acid-based cleaner, as the resulting fumes are hazardous and the mixture can damage the surface (Decontamination).
If you are unsure what your driveway is made of, test a small hidden patch with the gentlest option first and wait 24 hours before treating the whole area.
Step 3: Clean by Hand or Use a Pressure Washer Safely
For delicate block paving or older surfaces, a stiff-bristled brush with detergent is the safest route. Work in small sections and scrub in the direction of the paving pattern. Use a brush with nylon bristles rather than wire, because wire bristles scratch concrete and block paving and leave permanent marks that no amount of cleaning will remove. Learn how to prevent zebra stripes when cleaning with a pressure washer. Keep a separate soft brush for decorative edges and borders.
If you use a pressure washer, respect the basics. For a professional alternative, see our pressure washing service, which is matched to your surface. Keep the nozzle moving and never hold it still on one spot. Aim the spray across the joints, not straight down them.
Pressure Settings, Nozzles and Distance
Start at the lowest pressure setting and increase only if the dirt does not lift. Use a wide fan nozzle rather than a narrow jet. Hold the wand at a safe distance from the surface when starting out, and move closer only if needed. A narrow zero-degree jet at close range will etch concrete and blast sand out of joints within seconds.
Pressure washers vary widely in output, so check your machine’s rating and start at the lowest setting that lifts the dirt. Increase only on large, flat concrete areas where the surface is sound. Never use a pressure washer on tarmac at close range, as it can soften the binder and loosen the aggregate, and avoid it entirely on resin-bound surfaces where it can dislodge the stones.
Tool Maintenance and Safety
A pressure washer is only as safe as its condition. Check the nozzle for blockages before you start, as a partially blocked nozzle concentrates the jet and increases the risk of etching. Inspect the high-pressure hose for cracks or bulges, and never use a machine with a damaged hose. Keep the lance pointed away from yourself and others, and wear eye protection and non-slip footwear, since wet paving becomes slippery quickly.
Watch out: never use a pressure washer on a surface that has been sealed within the last 12 months, as the force can strip the sealant and leave a patchy finish.
Step 4: Treat Oil and Grease Stains Before They Set
Oil stains are the hardest marks to shift, and they worsen the longer they sit. For a detailed walkthrough, see clearing driveway stains step by step. Cover the stain with an absorbent material such as sawdust or cat litter, leave it for several hours to soak up the oil, then sweep it away. Apply a degreaser to what remains, scrub gently with a stiff brush, and rinse. Repeat if needed.
Test any degreaser on a hidden patch first, since some can leave pale marks on concrete.
Step 5: Protect Block Paving Joints and Edges
Sand in the joints holds your paving in place, so guard it carefully. Keep the spray angled across the gaps and avoid direct, close blasts along the edges. If sand has washed out, refill the joints with fresh jointing sand, brush it in, and dampen it so it settles and locks.
Protect decorative borders and any soft edging by working away from them, not into them.
Step 6: Rinse, Finish and Protect Runoff
Rinse from the top of the driveway downwards so you do not leave dirty water on clean sections. If streaks have already appeared, see how to remove pressure washer streaks from concrete. Use clean water and a low setting to remove all traces of detergent, since residue attracts fresh dirt.
Think about where the water goes. Dirty runoff can carry detergent and oil into drains and garden soil. Where possible, direct it onto lawn or a gravel area, avoid sending it straight into a surface drain, and use biodegradable products throughout. Check local guidance before discharging large volumes.
Watch out: do not finish a freshly cleaned driveway with a sealant until it has dried fully. Trapping moisture underneath can cause a cloudy, uneven finish.
Step 7: Keep the Driveway Looking Good Between Cleans
Sweep regularly, clear moss and algae early, and check the joints each season for sand loss, since keeping a clean driveway between deep cleans makes every session quicker and gentler on the paving. A light clean two or three times a year keeps the surface in good condition and makes each deep clean quicker and gentler on the paving.
Booking a Driveway Clean Without the Risk
Doing it yourself carries real risk, especially on older or delicate surfaces. If you would rather have the job done safely, Aquaclean Solutions offers surface-appropriate cleaning methods and is fully insured. To find out what a clean would involve for your property, ask for a free quote.
Frequently Asked Questions
How do you clean a driveway without damaging it?
Sweep the surface first, then wet it and apply a suitable non-acidic cleaner for the material. Scrub gently with a stiff-bristled brush, working in small sections, and rinse with clean water. Avoid high pressure on loose-jointed or older surfaces, keep the nozzle moving, and test a small hidden area before starting. If the surface is already damaged or you are unsure, ask Aquaclean Solutions for a free quote. Pricing depends on the size and condition of the area, so check the website for current prices or request a free quote.
Can bleach damage driveway surfaces?
Yes. Concentrated bleach can discolour concrete and block paving, weaken jointing sand and harm nearby plants and drainage. Many people use it to kill moss, but it often leaves pale patches. A biodegradable, non-acidic cleaner applied with a soft brush is usually a safer choice. Rinse thoroughly, and keep runoff away from garden beds and drains. Always follow the manufacturer’s dilution instructions.
How do you clean block paving without removing the sand?
Avoid high-pressure jets aimed at the joints, which can wash out jointing sand. Sweep first, then use a low-pressure wash or a soft brush with a suitable cleaner, working along the joints rather than across them. Keep the nozzle at a safe distance and angle it away from the gaps. If sand has already been lost, the joints can be refilled with fresh jointing sand once the surface is dry.
How often should you clean a driveway?
Most domestic driveways benefit from a thorough clean once or twice a year, with lighter sweeping and spot treatment of oil marks in between. Shaded driveways, or those under trees, tend to grow moss and algae faster and may need cleaning more often. Regular maintenance keeps surfaces safer underfoot and makes deep cleaning quicker and less aggressive.
